Minimal Skincare in 3 Steps for Sensitive Skin
By URICOSME

Have you ever noticed your skin getting more irritated the harder you try with skincare? I went through a phase of faithfully layering toner, essence, serum, ampoule, cream, and oil — six or seven steps every single day. Then one day, my cheeks flushed red out of nowhere, and products I'd been using without issue suddenly started to sting.
That's when it hit me: for sensitive skin, applying "only what's truly necessary" beats "applying as much as possible." Today, I'm laying out a minimal 3-step routine that sensitive skin can follow every day without stress.
Step 1 — Gentle cleansing with a low-irritation cleanser
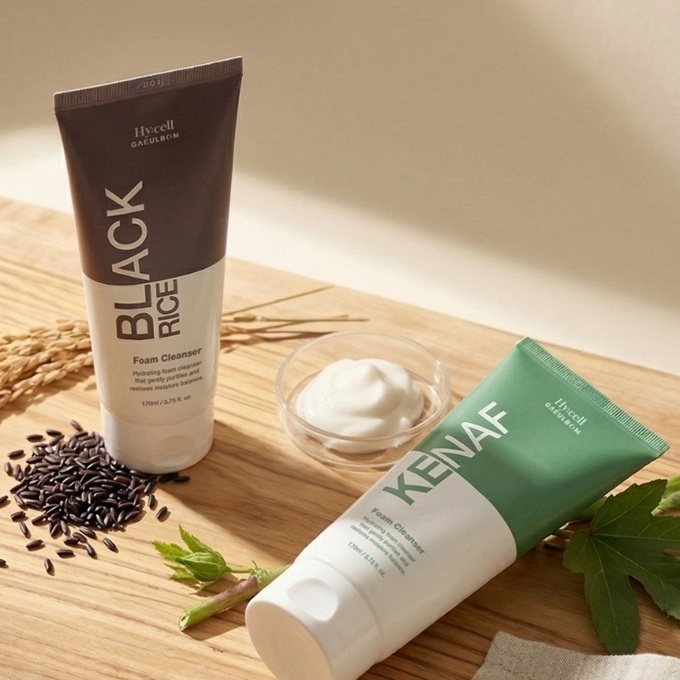
The first and most important stage of a sensitive-skin routine is actually "cleansing less." A rich-lathering, strong cleanser may feel satisfying, but it often strips away moisture that sensitive skin desperately needs.
Go for a slightly acidic (around pH 5.5) gel cleanser or cream cleanser. If your face feels "squeaky clean" after washing, you've already over-cleansed. The goal is skin that feels neither tight nor dry after rinsing — just comfortably hydrated.
I switched to water-only cleansing in the morning and using a cleanser only at night, and that alone visibly reduced irritation. It seems like a small change, but for sensitive skin, details like this make a genuinely big difference.
TIP: Choose products free of fragrance, essential oils, and SLS (sodium lauryl sulfate). Checking for just these three on the ingredient list helps you dodge most potential irritants.
Step 2 — Hydration centered on calming ingredients
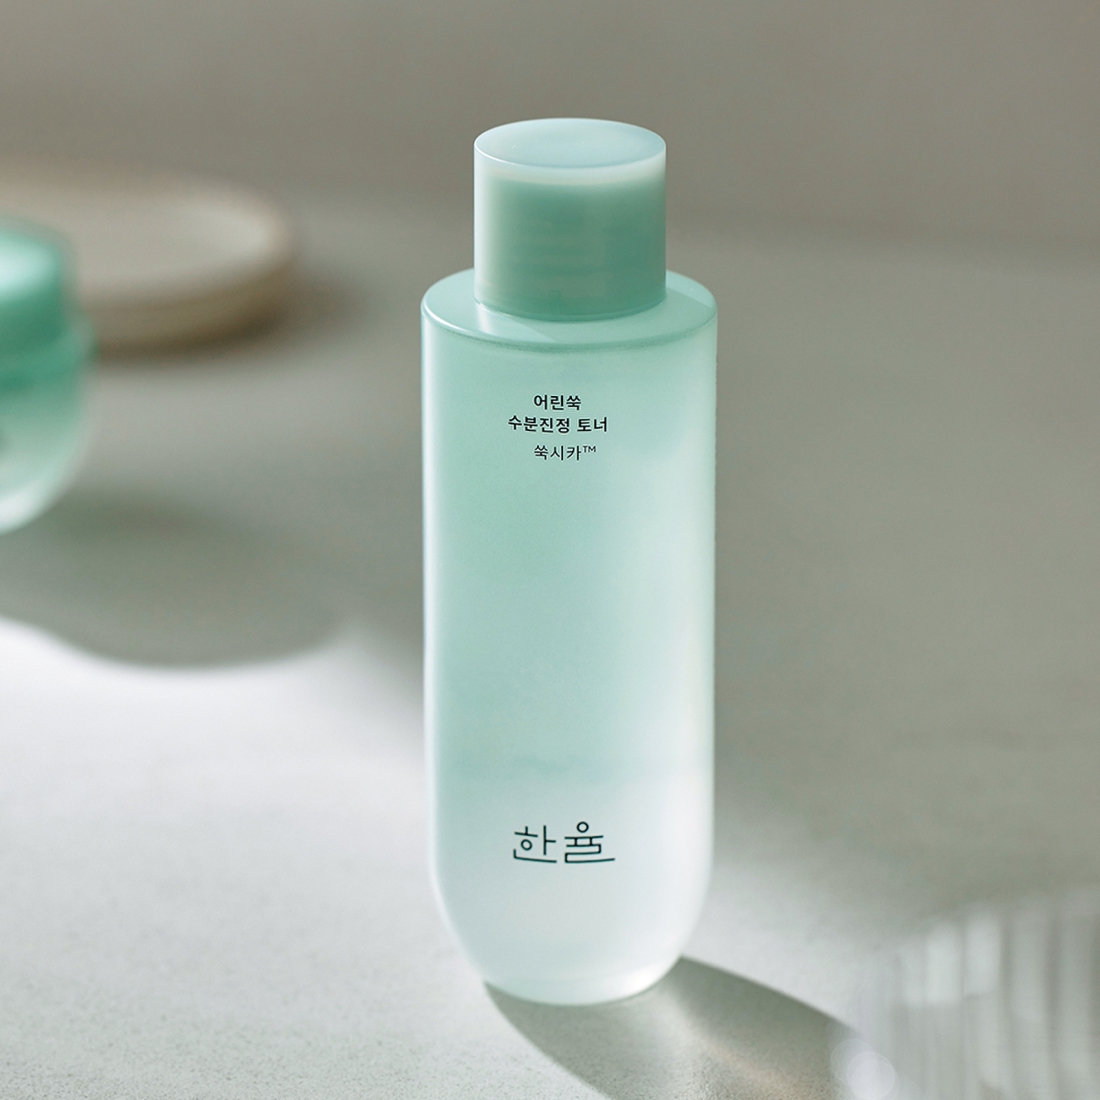
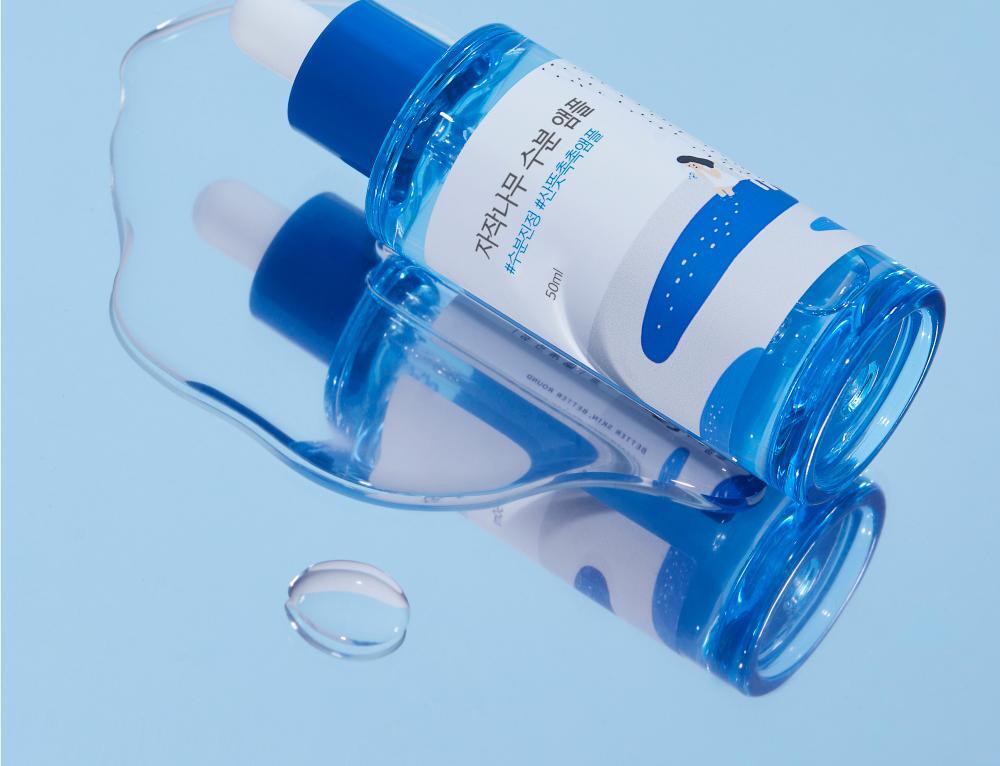
Right after cleansing, while the skin is still slightly damp, is the time to deliver hydration — that's step two. For sensitive skin, the key here isn't "how many active ingredients can I pack in" but "how reliably can I hydrate without irritation."
Centella (CICA), panthenol (vitamin B5), and hyaluronic acid — these three are the most dependable ingredients for the hydration step in a sensitive-skin routine. Centella calms redness, panthenol helps restore the skin barrier, and hyaluronic acid attracts and holds moisture.
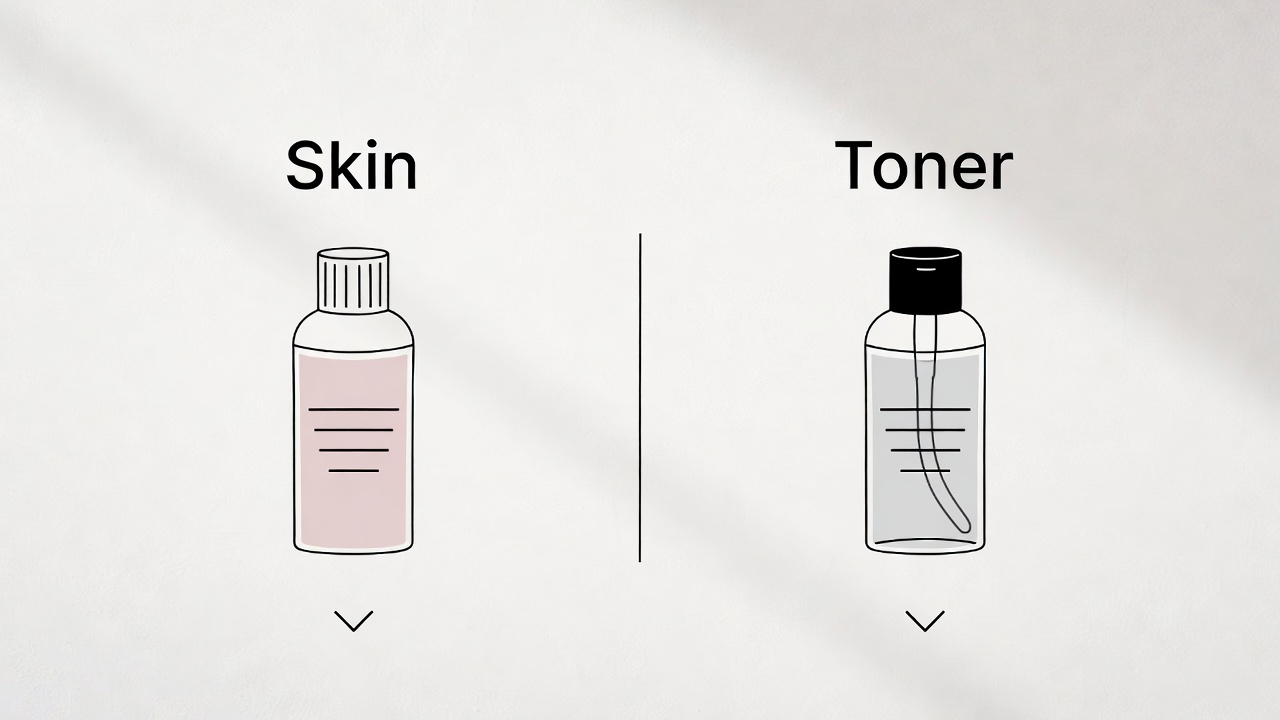
If using a separate toner and essence feels like too much, a single all-in-one toner with calming ingredients is plenty. I pour toner into my palms and gently press it in — far less irritating than swiping with a cotton pad.
TIP: On days when your skin feels extra reactive, try storing your toner in the fridge. The cooling effect speeds up calming noticeably. A small trick, but you'll feel the difference.
Step 3 — Sealing it in with a barrier-protecting moisturizer
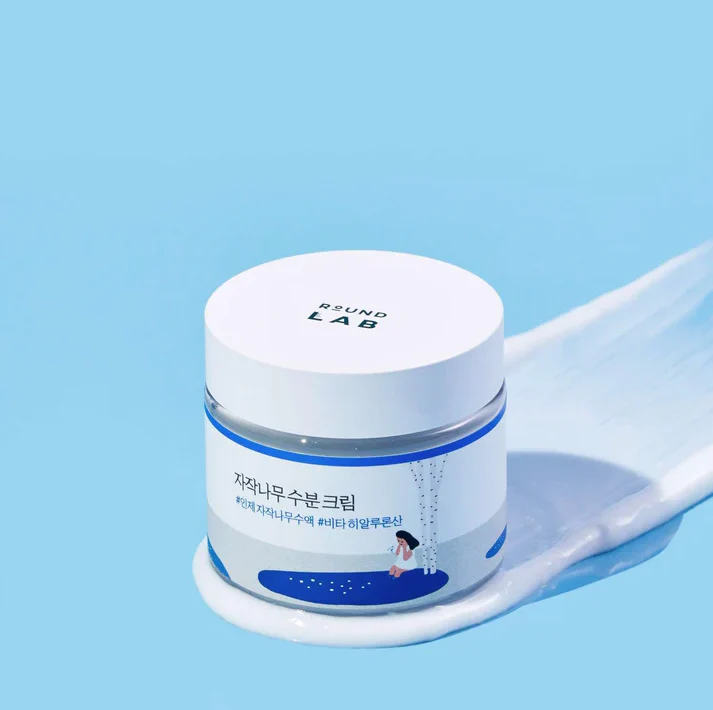
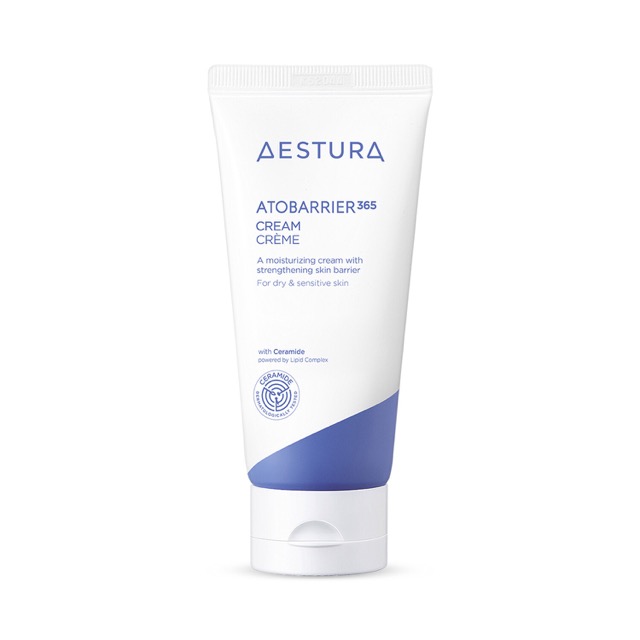
The final step is a moisturizing cream that locks in the hydration you just delivered. For sensitive skin, moisturizing isn't just about feeling dewy — it acts as a shield protecting the skin from external irritants.
Look for creams containing barrier-strengthening ingredients like ceramides, squalane, or shea butter. A medium-weight texture works best year-round — lighter in summer, an extra layer in winter. Same product, just adjust the amount.
I used to think "slathering cream on thick is the only way it works," but for sensitive skin, that actually backfired. Applying two thin layers absorbs better and causes less irritation than one heavy coat. Like splitting a long line into two shorter ones at Disneyland — dividing and applying turns out to be faster and easier in the end.
TIP: When trying a new moisturizer for the first time, patch-test along your jawline first. If there's no reaction after 24 hours, you're good to use it on your entire face.
Sometimes "subtracting" is the most effective skincare

What sensitive skin often needs isn't "better products" — it's "fewer steps." After I cut down from six or seven steps to three, the biggest thing I noticed wasn't even that my skin improved; it was that I stopped stressing about my skin.
No more agonizing every morning over "which serum should I use today?" — just grab three items: cleanser, toner, cream. When a routine is simple, it's easier to stick with, and consistency naturally leads to calmer skin.
Of course, once your skin stabilizes, you can start adding targeted products one at a time. But the starting point is always these three steps. The simplest routine is the one that lasts the longest — something I only realized after my skin had already suffered.
The 3-step routine at a glance
| Step | Role | Key Ingredients | Tip |
|---|---|---|---|
| 1. Cleanser | Gentle cleansing | Low-pH (5.5), SLS-free | Water-only AM + cleanser PM |
| 2. Toner | Calming + hydration | Centella, panthenol, hyaluronic acid | Press in with palms |
| 3. Cream | Barrier + moisture seal | Ceramides, squalane | Two thin layers |
Tonight, try keeping just those three and giving everything else a rest. You might be surprised how quickly your skin starts to relax. Seriously.