How to Cover Spots on Mature Skin Without a Heavy Base
By URITRIP

When you want to cover dark spots on mature skin, the first thing to change is not how much foundation you use but where you put it. Even out the overall tone with a thin layer, then add concealer a little at a time only to the spots that still show. If you cover the whole face to match your darkest spot, skin that was already even ends up heavy too.
The test here is not only how much a spot has faded but how naturally it blends into the skin around it. If a small mark still shows faintly but your cheeks and the skin around your eyes look comfortable, that is enough for everyday makeup. If the spot is gone but a light ring has formed around it, or the base gathers when you smile, check the shade and the amount before reaching for more coverage.
Mature base makeup starts with the dry areas
Skin does tend to get drier with age. The American Academy of Dermatology (AAD) notes that skin in your 60s and 70s loses moisture more easily, which can lead to dryness and irritation. That does not make every mature face uniformly dry, including in your 40s and 50s. Your cheeks can feel tight while your nose and forehead still get oily.
Before makeup, check whether your cheeks and the area around your mouth feel tight and whether you can see flaking under the eyes. Dry skin needs a moisturizer that suits it, and the AAD points out that when dryness is severe, a cream or ointment holds in moisture better than a lotion. That does not mean everyone needs a thick layer of a heavy formula before makeup. How much moisture your skin needs and how much lets makeup sit well on top are two separate questions.
Avoid rubbing off visible flakes in a hurry. On skin that is already dry and sensitive, that only adds irritation. If a lot of product is still sitting on the surface after moisturizing, give your skin a moment before layering base. The point of prepping before covering spots is to make the cover product work better. If you ask one high-coverage product to hydrate and smooth texture as well, you end up using more of it.
Choose a concealer shade that connects to the skin around it

A shade that covers spots and a shade that brightens the face do different jobs. A light concealer can make a dark area look brighter, but if it is far from the surrounding skin, the covered patch is the first thing people see. For spots, start with a shade that blends into your skin once your base is on.
Do not judge by a swatch on the back of your hand. Check how the lightness and the yellow or red undertone match right around the area you want to cover. Spread a small amount and see whether the edge stands out. That tells you more than comparing shade names, because one brand's Light is not the same color as another's.
One product to look at is JUNGSAEMMOOL Skin Nuder Cushion Concealer, a concealer in a cushion compact. The brand's instructions are to spread an appropriate amount thinly and tap it in lightly. In JUNGSAEMMOOL's own tutorial on covering spots on mature skin, the shade used was Light; Olive Young Global lists it at $31.00 in five shades, from Fair Light to Bronze, so choose yours with the test above. The case may look like a cushion foundation, but instead of pressing it over wide areas again and again, use it to control how much coverage goes on each spot.
If the concealer you already own lets you control the amount and the edges, there is little reason to buy a new one first. What matters is not the name or the wear time in the ad but whether a small amount on top of your base stays in place without the color standing out.
Load less product on the puff and spot coverage gets easier
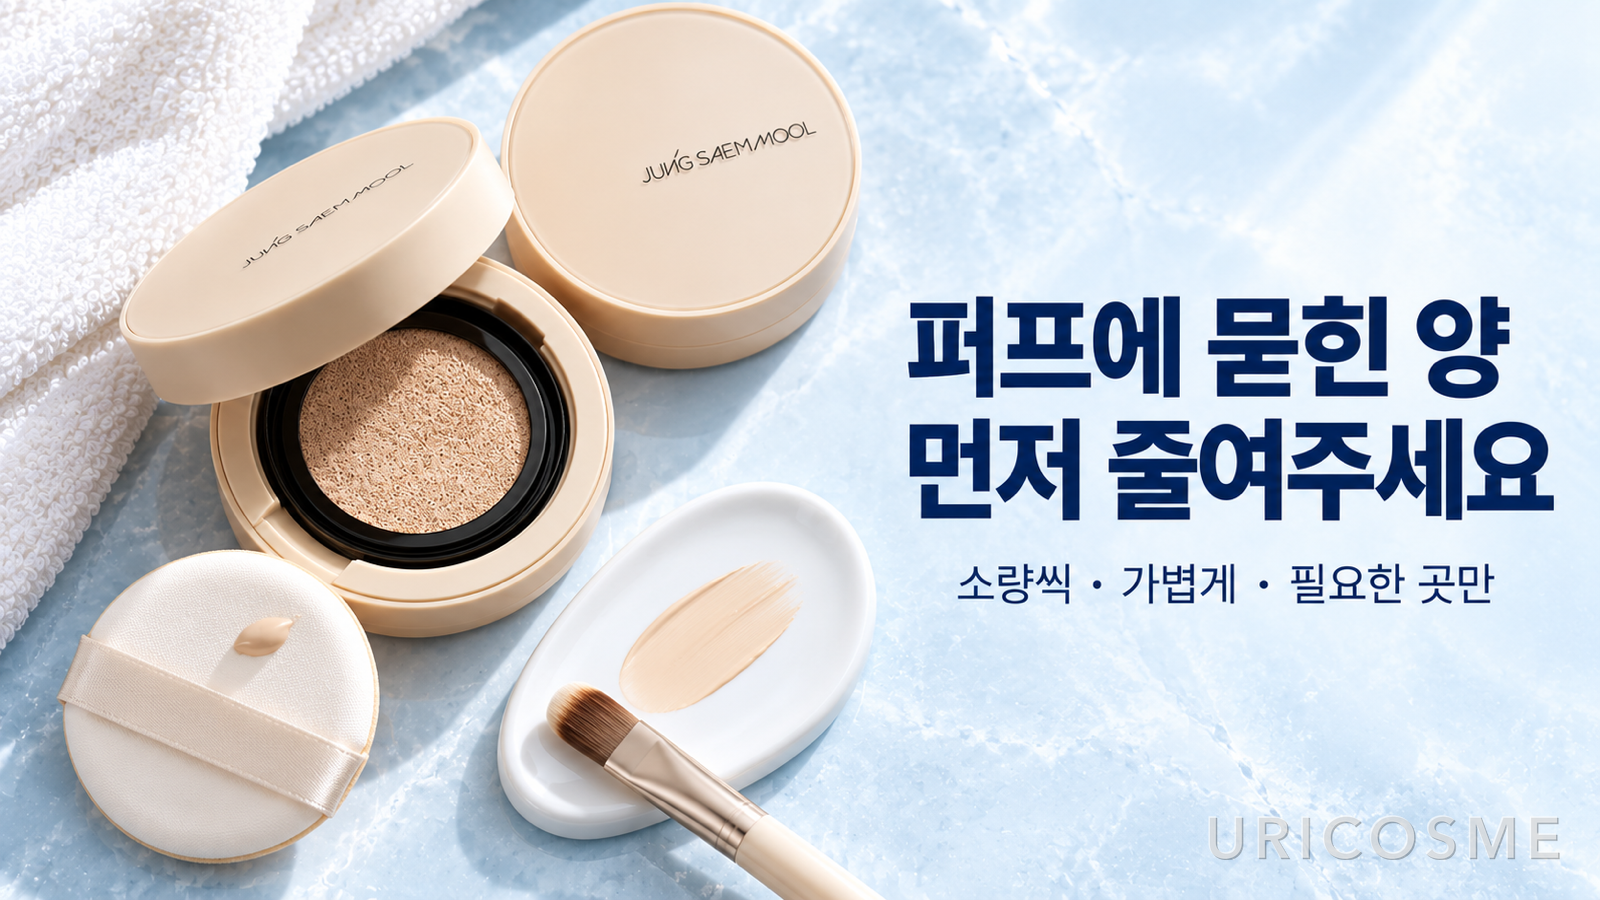
Starting with a lot of product means more area to cover and more area to blend at the same time. Tapping to even it out disturbs the spots you just covered. That is why adjusting how much is on your puff or brush, before it touches your skin, matters so much.
With a cushion product, pick up a little and spread it evenly on the compact's leveling surface or a clean palette, so it does not clump on one side of the puff. Tap a thin layer onto the skin, look at your whole face once, then add more only where it is lacking. Watching how much is left on your skin is more reliable than following a fixed number of layers.
For small spots, the tip of a brush or the narrow edge of the puff keeps the area small. Place what you need on the center of the spot and blend only the edges into the base around it. Rubbing the center outward spreads the product and weakens coverage exactly where you wanted it. Keep the center, tidy the edges, and keep your hand movements small.
Wider areas of light discoloration need a different approach from a single small spot. Even them out thinly with the flat side of the puff, then go back only to the parts that still look dark. A spot on one cheek does not mean the other cheek needs the same amount. The two sides do not have to match in product; the finished face has to look balanced in color and texture.
Do not cover under-eye darkness the same way as deep spots
When the under-eye area or the front of the cheeks looks dark, look at the shadows that the shape of your face and the light create, not only the color. Turning your head or changing the direction of the light shows how much the darkness changes. That check alone, however, cannot tell you what kind of pigmentation it is or diagnose your skin.
Brightening a shadowed area with concealer can make it look less dark, but it does not fill a hollow. Knowing the difference helps you stop before piling on product that will never solve that part. Rather than brightening the whole under-eye area at once, start with the narrow section that actually looks dark and blend it in thinly so the amount stays under control.
In narrow, curved areas such as the sides of the nose, use the edge of the puff or a small brush instead of forcing the flat side in. A smaller tool reaches where you need it without pressing hard. Check areas that move with expression, such as around the eyes and mouth, not only right after applying but also when you smile lightly. If product has collected in a crease, remove the excess before adding more coverage.
Add color with blush without disturbing the coverage

Once your spots are covered, your skin tone looks even, but the natural color in your cheeks can fade with it. Instead of brightening the base further, a small amount of blush is another way to fix that. What matters is not strong color but a light hand that does not disturb the coverage you just built.
Control the amount on the brush and lay it lightly on the cheeks. Sweeping back and forth hard over covered areas can move the product underneath, so start with short, soft strokes. You can always add more color, but taking away color that went on too strong may mean redoing the base.
The brand's tutorial uses JUNGSAEMMOOL Colorpiece Blush in Emotion Rosy, a powder blush listed on the brand's Korean official store. It is not carried on Olive Young Global, so outside Korea any blush you already own works, as long as it is easy to sheer out and sits well with your base.
Formula is not something to decide by age either. Powder blush can be laid on lightly with a brush, and cream blush can be comfortable depending on your skin and base. Either way, if your technique involves a lot of rubbing over covered areas, be careful. That is why the pressure you apply and whether the base underneath moves matter as much as the shade.
Keep powder and touch-ups to the areas that need them
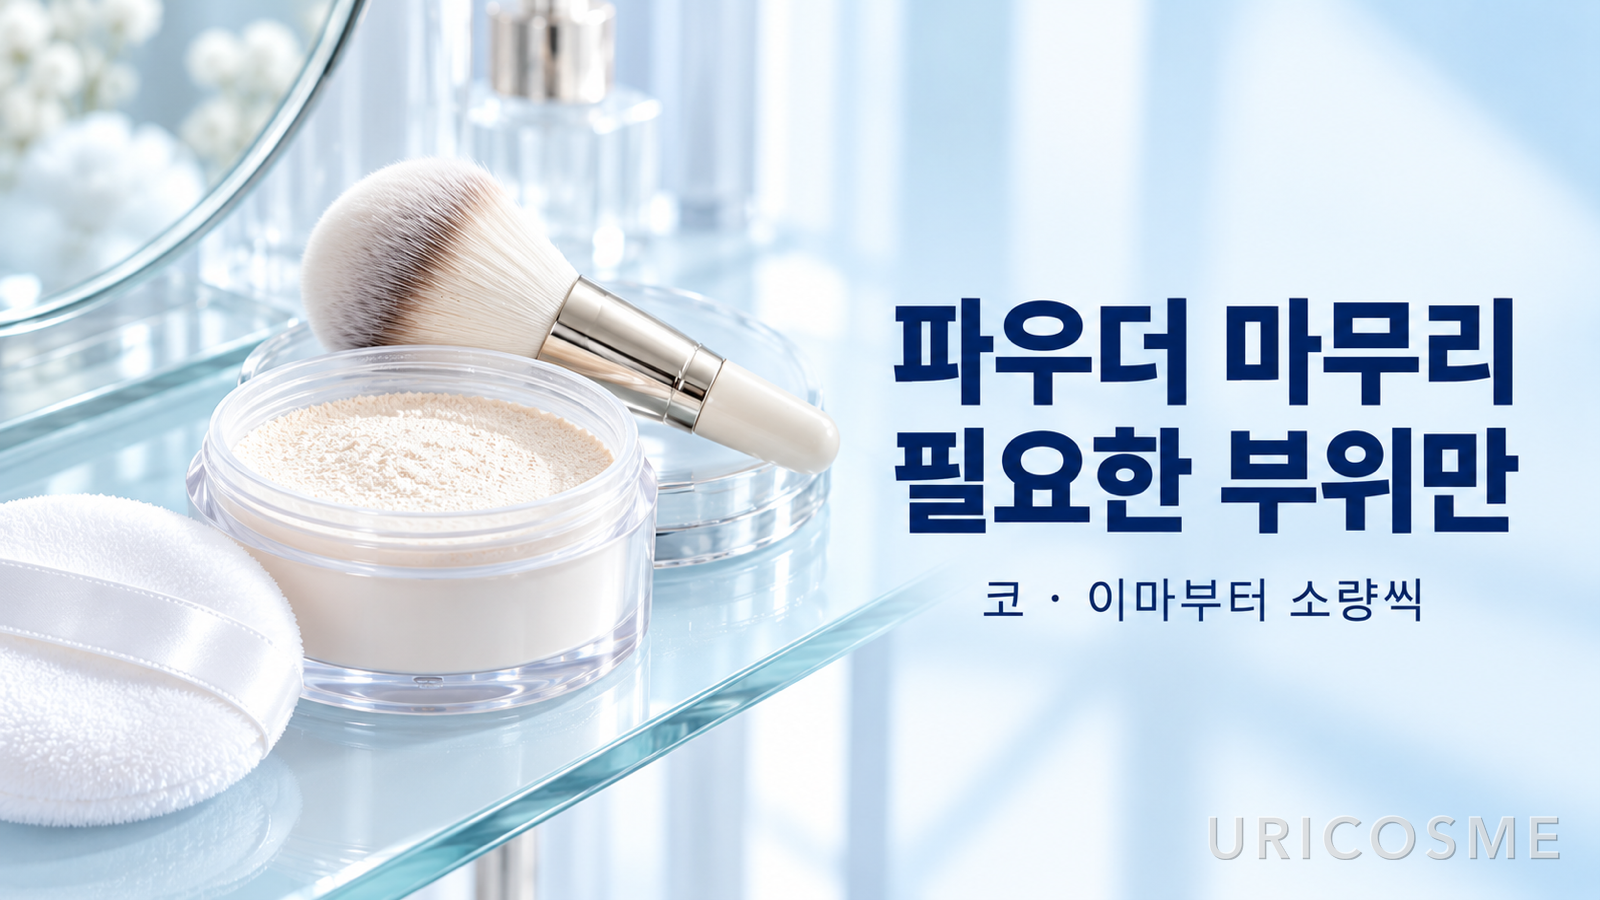
You do not need the same amount of setting powder all over the face. Look separately at an oily nose or forehead and cheeks that feel tight. Use a little powder where you want less shine first, then decide whether the dry areas need any at all. Covering every bit of glow just because some remains can take you away from the finish you wanted.
When spots show again during the day, look for the cause before patting cushion over your whole face. Whether oil or sweat has come up, the product has slipped and clumped, or coverage has only faded in one area, each needs a different fix. Blot oil or sweat with a clean tissue without rubbing, check what is left of your base, and add a small amount only where it is lacking.
Do not check only up close in the mirror. Step back to the distance you would normally talk to someone. Trying to erase every small mark you see under magnification can make you lose sight of the texture of the whole face. The coverage you want depends on whether it is for everyday or for photos, but weighing what you gain from more product against how much heavier it looks is always a useful test.
Covering spots and managing melasma are different jobs
Makeup makes color differences in the skin less visible for a while. It is not a treatment that removes the cause of spots or melasma. If melasma is your concern, sun protection matters separately from how you cover it. The AAD recommends a broad-spectrum, water-resistant sunscreen with SPF 30 or higher for melasma, applied 15 minutes before going outside and reapplied at least every two hours, along with hats and shade.
Visible light can also worsen melasma, especially for people with darker skin tones, which is why the AAD suggests a tinted sunscreen that contains iron oxide. That advice does not mean every brown mark is melasma, or that a regular concealer protects you enough. Even if a cover product carries an SPF, a thin layer dabbed on a few spots does not stand in for sunscreen across the whole face.
The rule to take away is simple. Before adding more, decide whether what you need right now is color correction, a cleaner edge or moisture for dry skin. Fix only what that answer points to, and more coverage and natural-looking skin can go together. How much you cover is your choice, but the more practical goal is the point where the product you add to hide spots does not make the rest of your skin look uncomfortable.
Skin care and sun protection guidance comes from the American Academy of Dermatology's pages on skin care in your 60s and 70s, choosing a moisturizer, and melasma self-care. Product details and the regular price were checked on October 30, 2026, on JUNGSAEMMOOL's Korean official store and Olive Young Global. Olive Young Global does not ship to the 50 US states and D.C.; shoppers there are directed to the separate Olive Young US store, where the lineup and prices can differ.