20-Minute Makeup for Work or School, with Less Base Pilling
By URITRIP

Finishing your makeup in 20 minutes takes more than working faster. The time you save can disappear into another layer of foundation, cleaning up smudged eyeliner and fixing your base all over again. A smoother morning starts with fewer heavy layers and a simpler colour routine, so there is less to correct in the first place.
Keep skin prep to what you need, even out your complexion with cushion foundation, then use concealer only where you still want coverage. Two eyeshadow shades can define the eyes, while blush and lip colour bring the look together. Aim for a fresh, put-together finish rather than covering every mark. That makes it much easier to decide which steps deserve your time.
Decide what matters before you start
A shorter routine does not mean cutting every step equally. Keep moisturiser and sunscreen, but scale back repeated layers of coverage and intricate detail. Just before work or class is rarely the easiest time to try an unfamiliar tool or a new eyeliner technique: correcting a small mistake can take longer than the step itself.
Set out your products the night before. Choose one cushion foundation or liquid foundation, concealer if needed, a brow product, powder, blush, two eyeshadow shades and a lip product. Picking your colours in advance is more useful than laying out several products that do the same job.
The schedule below is one way to organise the time after cleansing. Treat it as a guide, not a set of deadlines: your experience and how quickly your products settle will affect the pace. Allow separate time for your hair and getting dressed.
| Time | What to do | What to scale back |
|---|---|---|
| Minutes 0–4 | Moisturiser and sunscreen | Overlapping skincare layers |
| Minutes 4–11 | A light base, spot concealing and brows | Another layer of foundation all over |
| Minutes 11–15 | Powder where needed, then blush | Heavy powder across the whole face |
| Minutes 15–18 | Define the eyes with two eyeshadow shades | Complex blending and long eyeliner wings |
| Minutes 18–20 | Lip colour and a final check of the edges | Optional contour and highlighter |
If products are still sitting on the surface, give them time and simplify the colour steps that day. Rushing ahead with an unsettled base can leave you with more fixing to do later.
Make skin prep work with your makeup
More skincare layers do not automatically make foundation last longer. Too little moisture can leave dry areas looking flaky, but too much product on the surface can roll up or move around when you apply your base. Instead of adding more cream everywhere because your skin feels dry, notice where it feels tight and where it gets oily.
If you use toner and serum, apply lighter textures first, then add moisturiser as needed. You do not have to use all three. If one familiar moisturiser leaves your skin comfortable, there is no need to add steps. Dry cheeks may need more moisture, while the area around your nose may not need the same amount reapplied.
Start with a small amount of cream and add more where necessary. If the surface still feels slippery, pause before applying foundation. Use that moment to get out your lip product or brushes. Follow the product directions and how your skin actually feels rather than relying on one waiting time for every formula.
Do not apply the “use less” approach to sunscreen. Apply the amount directed on its label evenly, and do not wipe some off or rely on a barely loaded puff to keep your base thin. Sunscreen generally goes after moisturiser and before makeup. The American Academy of Dermatology recommends broad-spectrum sunscreen with SPF 30 or higher and applying it 15 minutes before going outdoors. Putting it early in your routine makes that time easier to allow for.
Keep foundation light, then conceal what remains
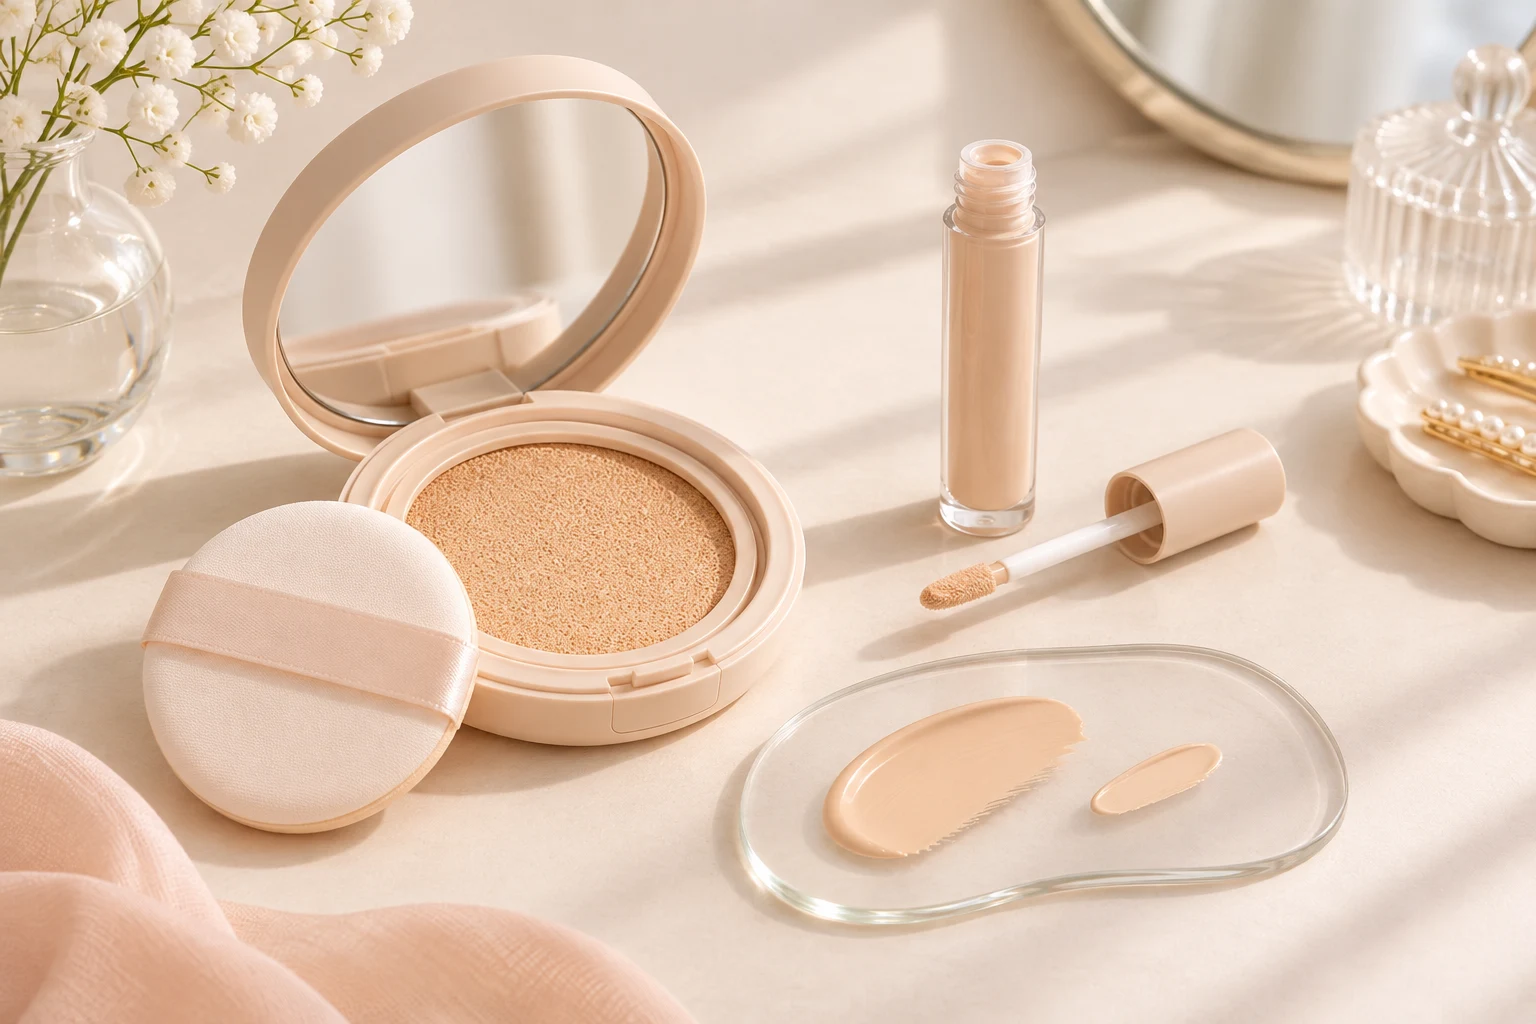
Let cushion foundation even out your complexion rather than covering every part of your face to the same thickness. If the puff picks up too much, remove the excess before applying. Start with gentle presses over larger areas such as the cheeks. Use what remains on the puff around the eyes, beside the nose and around the mouth to avoid building up product too early.
After the first layer, look at your whole face. If redness looks more even and only a few areas still stand out, they do not need to dictate another layer everywhere. A little concealer can keep the extra coverage contained. If you prefer a sheer finish, it is also fine to leave small marks visible and stop there.
If the concealer applicator holds a lot of product, start with tiny dots where you need the most coverage and use less under the eyes. Begin with the actual areas of darkness rather than filling in a broad triangle. That helps keep the layer thin. Check the shade difference between your foundation and concealer too: a large mismatch can lead you to blend product over a much wider area just to disguise the edges.
Do your brows while concealer settles—if the formula allows
For targeted concealing, you can try letting the product settle briefly before tapping out the edges instead of rubbing it over a wide area straight away. Use that short pause to fill sparse areas through the middle and tail of your brows, then soften the fronts with a spoolie. That way, the waiting time becomes part of the routine.
Fast-setting concealers are different. They may dry before you finish both brows, so work on one area at a time and blend promptly. Waiting longer does not always improve coverage. Adjust the order to the blending window of the formula you know.
When you return to concealer, blend delicate areas such as under the eyes first. Over a blemish or dark spot, tap mainly around the edges so you do not lift too much coverage from the centre. Add a little more only if needed, rather than increasing the amount in an attempt to cover everything at once. Leaving an area alone once it looks good is a useful morning habit.
Brow gel or tinted brow mascara is optional too. If your brows are already tidy and their colour works with your hair, there is no need to add another step every day.
Powder the areas that need it
A heavy layer of powder everywhere can make dry texture more noticeable. Start with areas that get shiny or where your base tends to move, such as the forehead and the sides of the nose, and apply a small amount. If you like the fresh finish on your cheeks, you do not have to make them completely matte.
If foundation has already collected in a crease, gently smooth away the buildup before adding powder. More powder will not flatten a clump of makeup underneath. Avoid repeatedly adding powder to areas that are lifting because they are dry as well.
The aim is to control the finish where you need to, not to remove every trace of glow. It makes sense to powder different areas on a dry-skin day than on a day when your skin feels oilier.
Use two eyeshadows, then bring colour to cheeks and lips
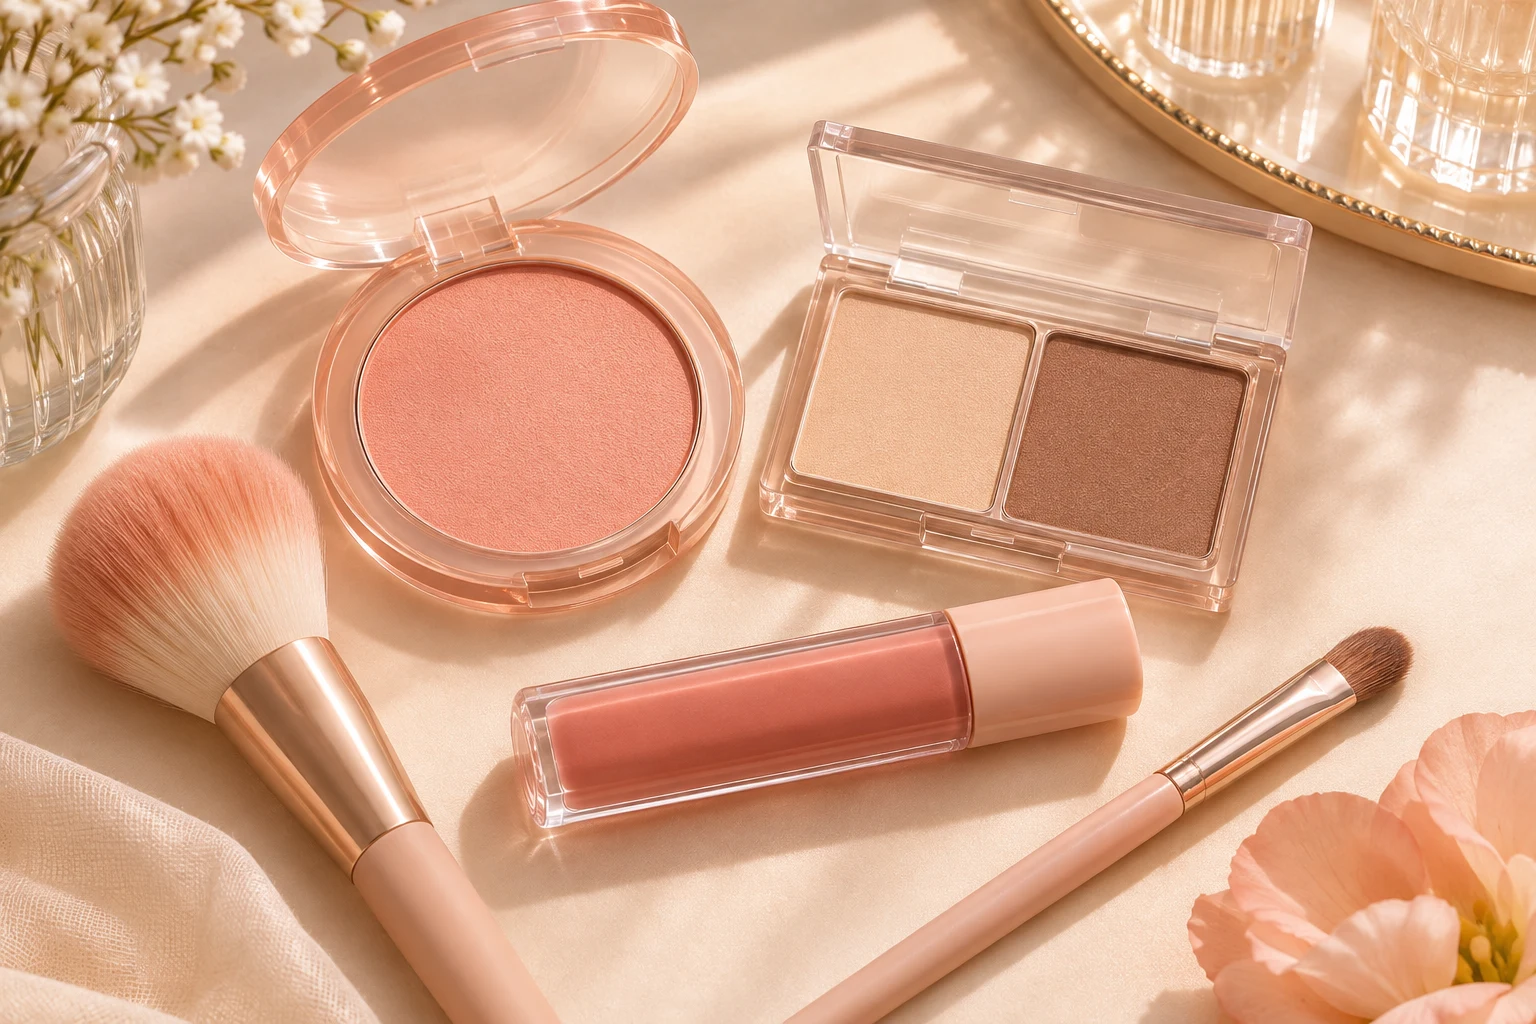
When time is tight, adding colour to cheeks and lips can be more practical than perfecting an elaborate eye look. Tap excess blush off the brush, then build the colour gradually on both sides. Your blush and lipstick do not need to match exactly, but a familiar combination of peach, rose or pink tones with a similar warmth makes choosing easier.
For eyeshadow, a light base shade and a slightly deeper defining shade are enough. Apply the lighter colour thinly across the lid, then keep the deeper shade close to the lash line and outer corner before softening the edges. This gives the eyes definition without layering several colours in sequence. Keep eyeliner and mascara if they matter to your preferred look, but they do not have to be compulsory on every busy morning.
If you want to use a cheek or brow product around your eyes, check the areas of use permitted on the label. Similar colours do not mean every formula is intended for the eye area. Choosing products made for use around the eyes keeps the routine straightforward.
Choose one lip formula you already find easy to apply quickly in a mirror. You do not have to layer a matte base and a tint; one product that lets you tidy the lip edge can finish the look. Check the jawline, the sides of the nose, the fronts of the brows and the lip edges, then stop. Leave nose contour and highlighter for mornings when you have time to spare.
If your base keeps pilling, change one thing at a time
Before buying a new foundation, look at the combination you already use. Are you layering several skincare products, applying makeup while moisturiser still feels slippery, or loading too much foundation onto the puff at the start? On a less rushed day, try changing one thing—such as leaving out an overlapping serum or using less foundation—so you can tell what made a difference. Keep using the amount of sunscreen directed on its label.
Daily exfoliation is not a necessary fix for makeup that catches on dry patches. It can be irritating depending on your skin type and the products you already use, and rubbing skin that is red, stinging or damaged can make it feel worse. On a busy morning, focus on keeping irritation down and adjusting moisturiser and makeup amounts rather than trying to scrub away every flake.
For a 20-minute routine, ask yourself how much difference one more step will make to the overall look. Once your complexion, brows, cheeks and lips look balanced, you can leave out a subtle contour and still look put together. Knowing when to stop is just as useful as knowing what to apply next.
Optional shopping picks for this 20-minute routine
Affiliate disclosure: We may earn a commission from qualifying purchases through these OLIVE YOUNG Global links.
These are examples for the light base, spot-concealing, powder and lip steps. Use the products you already enjoy; there is no need to buy the whole list.
Light base — rom&nd Bare Water Cushion
A cushion option if you prefer a fresh, dewy finish. Pick up a little with the puff to even out your complexion first, and check whether the selected option is a full compact or a refill.
Targeted coverage — THE SAEM Cover Perfection Tip Concealer
A liquid concealer with a tip applicator for the small areas that still need coverage after foundation. Start with tiny dots rather than adding another layer of foundation everywhere.
View THE SAEM Cover Perfection Tip Concealer at OLIVE YOUNG Global
Selective powdering — innisfree No Sebum AC Powder 5g
A powder option for areas that get shiny, such as the forehead and sides of the nose. Use a light touch and avoid piling it onto dry, flaky patches. This is the AC version listed by OLIVE YOUNG Global.
One-step lip colour — rom&nd Glasting Melting Balm
An option for adding colour and shine with one lip product. Choose a shade you find easy to apply rather than making a layered lip look another compulsory morning step.
Choose foundation and concealer shades for your own skin tone and coverage needs. Check available shades, sets, prices and delivery to your country on the store page.