Makeup Mistakes in Your 40s and 50s—and How to Create a Softer Finish
By URITRIP

You add another layer of foundation to hide dark spots and extend your eyeliner for definition, yet your face ends up looking more heavily made up than you wanted. In your 40s and 50s, it helps to look at which features you are emphasising and by how much, rather than counting your products. Separating the areas that need coverage from those where your own skin can show through can soften the overall effect without cutting every step.
Scaling back does not mean wearing only pale colours or applying makeup carelessly. Think of it as varying the intensity: keep the fronts of your brows soft while giving a sparse tail a little more definition. If you love a bold lip, let it lead and adjust the colour on your eyes and cheeks around it. The aim is less about finding an age-based rule and more about noticing where too many strong elements are competing on your face.
Adding more moisturiser and foundation whenever makeup looks uneven
Layering several skincare products because your skin looks dry, then immediately applying foundation, can leave products sitting on the surface and rolling up with your base. Skipping moisturiser is not the answer either. After cleansing, moisturise according to your skin's needs, check that a heavy layer is not still sitting on top, then move on to makeup.
Do not assume everyone in their 40s or 50s has dry skin. If your cheeks feel tight but your forehead and nose get shiny, there is little reason to use the same amount of cream everywhere. Give dry areas the moisture they need and adjust the amount where excess oil remains. For daytime makeup, keep sunscreen in the routine. If your base pills, simplify the skincare layers underneath rather than deciding to use less sunscreen than directed.
It also helps to identify what “not sitting well” actually means. Makeup catching on flakes, rolling into little balls during application and breaking up with oil later in the day call for different adjustments. Treating all three as a lack of moisture can leave you adding more and more cream. Change either the amount of skincare or the thickness of your base first, rather than replacing several products at once, so you can narrow down the cause.
Covering the whole face heavily to hide one dark spot
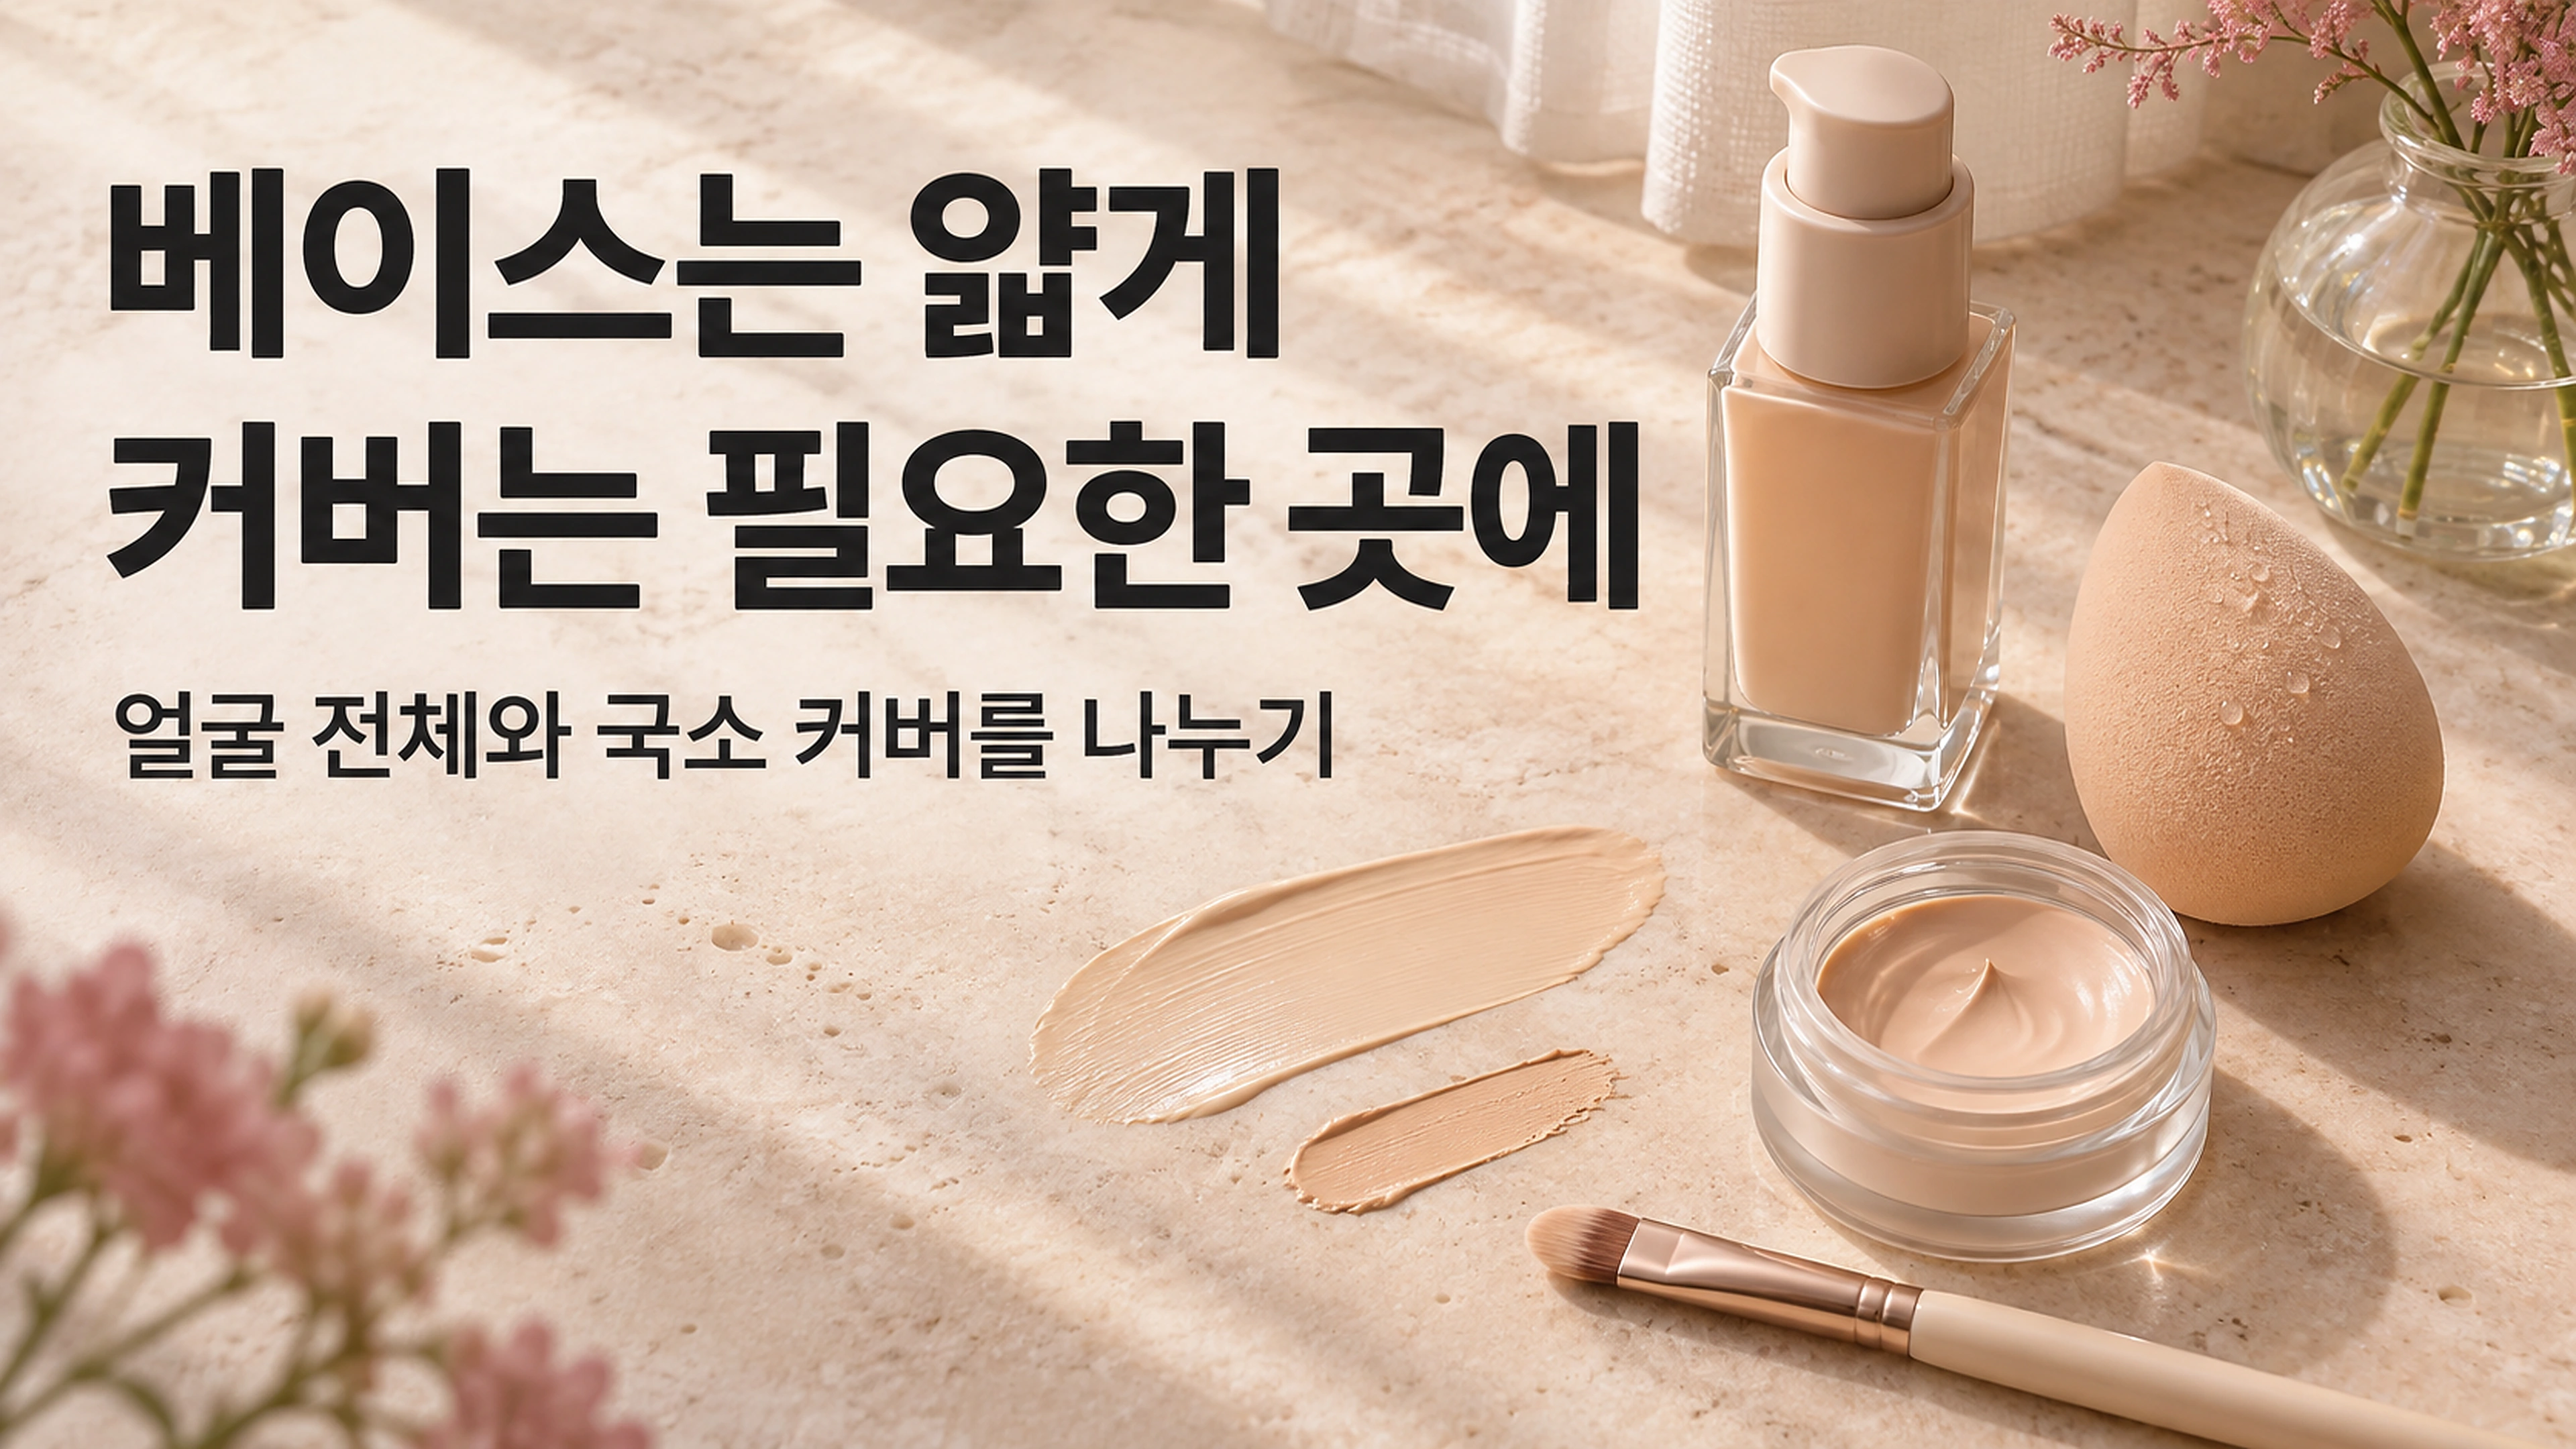
Evening out your overall complexion and covering a small mark are separate jobs. Trying to do both with foundation can leave thick coverage on areas such as the chin and outer cheeks that do not need it. Start with a small amount spread thinly, then add concealer only to the areas that still stand out.
Decant product onto the back of your hand or a palette and control how much reaches your tool. If you dot a large amount directly onto your face, you can end up covering a much wider area while trying to blend it all out. Neither a brush nor a sponge is automatically superior: the practical choice is the one that helps you soften edges with little product. If your sponge is designed to be used damp, squeeze it out thoroughly so it is not dripping.
Avoid choosing a foundation that is much too light simply because you want brightness. Judge it by how naturally it blends along the side of your face, rather than how bright it looks on your hand. If there is an obvious line between face and neck while some marks are still visible, adding an even lighter product is unlikely to solve both issues. Match the overall base colour first, then adjust coverage locally.
Treating under-eye discolouration and hollow shadows the same way
When the under-eye area looks dark, distinguish areas where the colour itself is deeper from shadows created by contours. A large triangle of bright concealer may lighten the whole area, but it can also build up over delicate skin and expression lines. Look straight ahead and define a small area where colour actually needs adjusting.
If only a bluish area near the inner corner needs correction, apply a little there and blend the edges. Peach corrector is an option when its depth and tone suit both your skin and the discolouration; it is not a universal formula for spreading the same salmon shade over every dark circle. Starting with too much corrective colour can mean adding more base just to cover it again.
Trying to erase every shadow in a hollow can lead to endless coverage. Instead of hiding every line you can see with the mirror held close, judge how naturally your under-eyes blend into the surrounding skin at a normal conversational distance. Use powder according to where makeup creases or smudges, rather than automatically skipping it or setting the whole area heavily.
Filling the front and tail of the brow to the same intensity
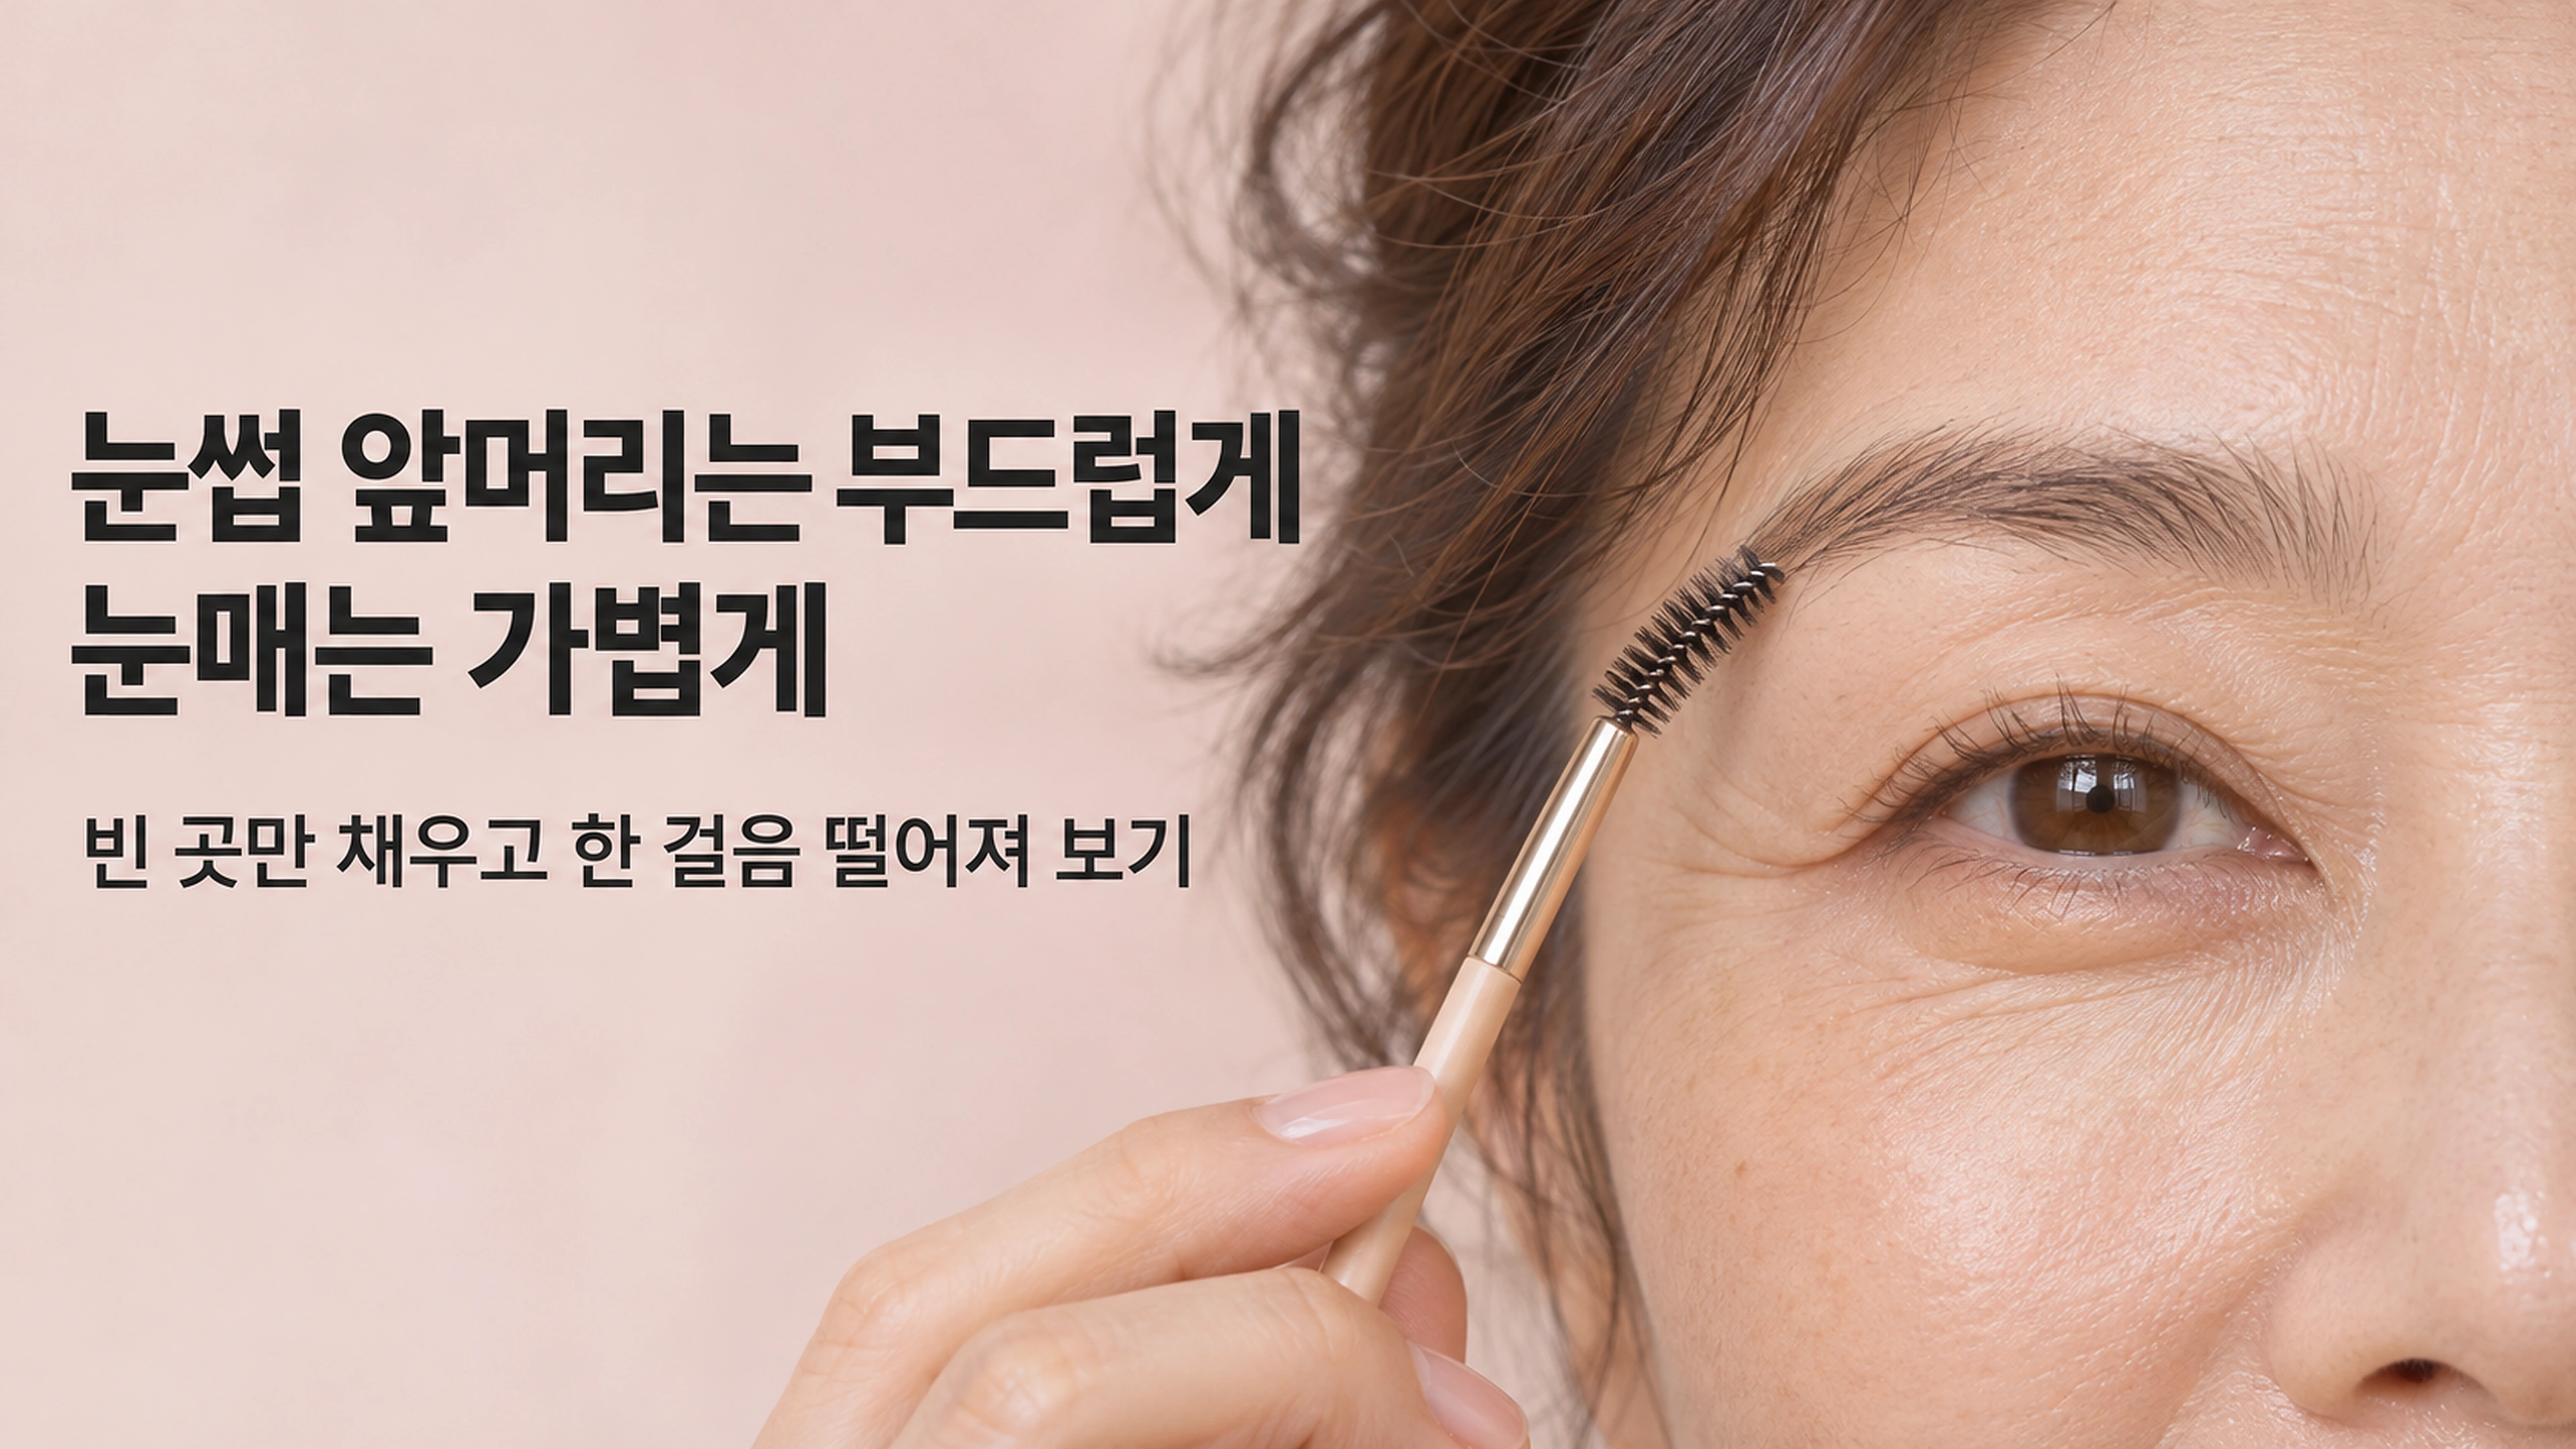
Defining your brows is different from colouring the entire brow dark. A squared-off, solid front can draw attention to the brow before the eye. Brush the fuller inner section into place and use short strokes mainly through sparse areas in the middle and tail to create a more varied intensity.
Try changing the habit of drawing the complete outer outline before filling everything inside it. Add short strokes where needed, then soften the edges with a spoolie so drawn areas blend with your natural hairs. Gradually brush out strong colour at the fronts. Aim for a tidy, slender tail rather than assuming longer and sharper is always better.
Consider your hair colour and natural brow density together when choosing a shade. Dark hair does not automatically call for the deepest black pencil, and being in midlife does not mean you must choose a light brown. Looking at one brow in a magnifying mirror can reveal an endless supply of apparent gaps, so step back occasionally. Check which side looks heavier across the whole face rather than trying to make an exact copy.
Surrounding the eyes with dark lines to make them look bigger
Thick liner above and below the eye, combined with a long wing, can make the lines more noticeable than your eye shape. For a less heavy everyday look, start with a fine line close to the upper lashes, then look straight ahead with your eyes open. Extend it only where needed so you can control the thickness that is actually visible.
A line that looks good with the lid lowered will not necessarily look the same with your eyes open. Folds at the outer corner and the shape of your lids can hide parts of it or make it look broken. Instead of following one wing angle for everyone, shape the visible end in short sections while looking straight ahead. A deep brown is another option if black feels too stark.
With eyeshadow, first check for abruptly defined edges rather than blaming the colour itself. Spread a small amount and soften the perimeter instead of concentrating a dark patch in the centre of the lid. You do not have to avoid shimmer because of your age. If it emphasises texture more than you like, try it over a small area before applying it more broadly.
Before applying mascara, remove excess clumps from the wand. Repeated coats in pursuit of definition can stick the lashes together into thick groups. A technique such as applying mascara only to the inner section may suit one person's eyes without suiting everyone's. Look straight ahead and see which sections give you the shape you want to emphasise.
Turning blush into a broad band of colour
Heavy blush swept over a wide area can make its boundaries more noticeable than the fresh colour you wanted. Using blush to hide spots as well can create an unnecessarily complicated mix of colour and coverage. Give it a separate job: add colour after you have evened out your base.
Rather than marking out the whole cheek from the start, place a little colour and soften it outward. Tap excess powder off the brush; with cream or liquid blush, control the amount on your hand before applying it in small touches. That can help avoid a strong initial dot. A cream texture does not automatically preserve the foundation underneath, so begin with light tapping rather than rubbing.
Judge colour and placement alongside your face shape, natural redness and the rest of your makeup. If your eyes and lips are already defined, a subtle wash on the cheeks may be enough. With lighter eye makeup, you might prefer a little more cheek colour. Noticing which colour catches your eye first can be more useful for adjusting intensity than memorising one fixed position.
Building up lip colour and outline over dry lips
Preparing the lips before colour makes finishing easier. Apply a non-irritating balm during skin prep, do the rest of your makeup, then gently blot away any excess before applying your lip product. Avoid picking off flakes in an attempt to smooth the surface. More intense colour can cover a crack's colour without disguising its texture.
An indistinct lip edge does not need a large, dark outline. Start by connecting small breaks in your natural outline and softening the boundary between liner and lipstick. Overlining is not forbidden either: consider both the shape you want and how naturally the outer edge blends. A perfect line in a magnifying mirror and lips that look balanced across your whole face are different standards.
When you finish, choose one focal point. If you love the bold colour on your lips, soften the fronts of your brows and reduce the intensity on your cheeks. If your eyes are the focus, adjust the other colours so they are not competing at the same strength. Next time, scale back the one area that looked heaviest instead of changing everything. A clear, specific change makes it easier to find the finish that suits your face now.
Optional shopping picks for a softer finish
Affiliate disclosure: We may earn a commission from qualifying purchases through these OLIVE YOUNG Global links.
These are examples for a light base, targeted coverage, brow definition and lip colour. Keep products that already work for you and consider only the step you want to change.
Light overall coverage — rom&nd Bare Water Cushion
A cushion option if you prefer a fresh, dewy finish. Use a little to even out your complexion, then address individual marks separately. Choose a shade that blends along your jaw rather than simply the brightest option.
Targeted concealing — THE SAEM Cover Perfection Tip Concealer
A liquid concealer with a tip applicator for small areas that need coverage. Start with a tiny amount on discolouration or remaining spots rather than filling the entire under-eye area.
View THE SAEM Cover Perfection Tip Concealer at OLIVE YOUNG Global
Short strokes through sparse brows — CLIO Kill Brow Auto Hard Brow Pencil
A brow-pencil option for adding definition where hairs are missing. Use short strokes through the middle and tail, then soften the fronts and edges with a spoolie instead of filling a solid outline.
View CLIO Kill Brow Auto Hard Brow Pencil at OLIVE YOUNG Global
Finishing lip colour and shine — rom&nd Glasting Melting Balm
A tinted finishing product for colour and shine, with a different role from the plain balm used during skin prep. Blot excess balm first, then apply colour lightly and check the edges.
Choose foundation and concealer shades that blend into the side of your face and surrounding skin. Consider hair colour and natural brow density when selecting a pencil. Check shades, sets, prices and delivery to your country on the store page.