When Makeup Looks Heavy in Your 40s and 50s: 7 Habits to Rethink
By URITRIP

You add more foundation to cover dark spots and thicken your eyeliner for definition, only to find that your makeup looks heavier than you intended. In your 40s and 50s, the first things to reconsider are often where you apply product and how you blend its edges, rather than how many products you own. Keep extra coverage focused on small areas, and leave colour only where you want definition.
That does not mean you have to wear barely-there makeup. If you love a bold lip or a dramatic eye, enjoy it. But if you want a softer, more polished finish, it is easier to adjust one area at a time than to increase coverage and colour intensity across your whole face together.
Why the same makeup can look different now
Even the same amount of the same foundation can finish differently as your skin changes. Skin may become drier with age, and its ability to retain moisture can change around menopause. If a base that once blended smoothly now looks flaky or gathers in fine lines, first ask whether you need more coverage or whether product is building up over dry areas.
Not everyone develops dry skin in their 40s. Your cheeks may feel tight while the area around your nose gets shiny. Treating the whole face as if it has one set of needs can lead to more moisturiser or powder than necessary. Prepare tight-feeling areas with a moisturiser that already works for you, and use sunscreen in the amount and manner directed on its label. Foundation is the layer to keep light.
When you check your makeup, step back as well as looking closely at individual marks. A magnifying mirror can make every small colour difference feel like something to hide, but an even overall complexion and balanced brows and lips often register first. Switching between a close-up and a whole-face view can help you avoid unnecessary touch-ups.
Covering the whole face heavily for a few dark spots
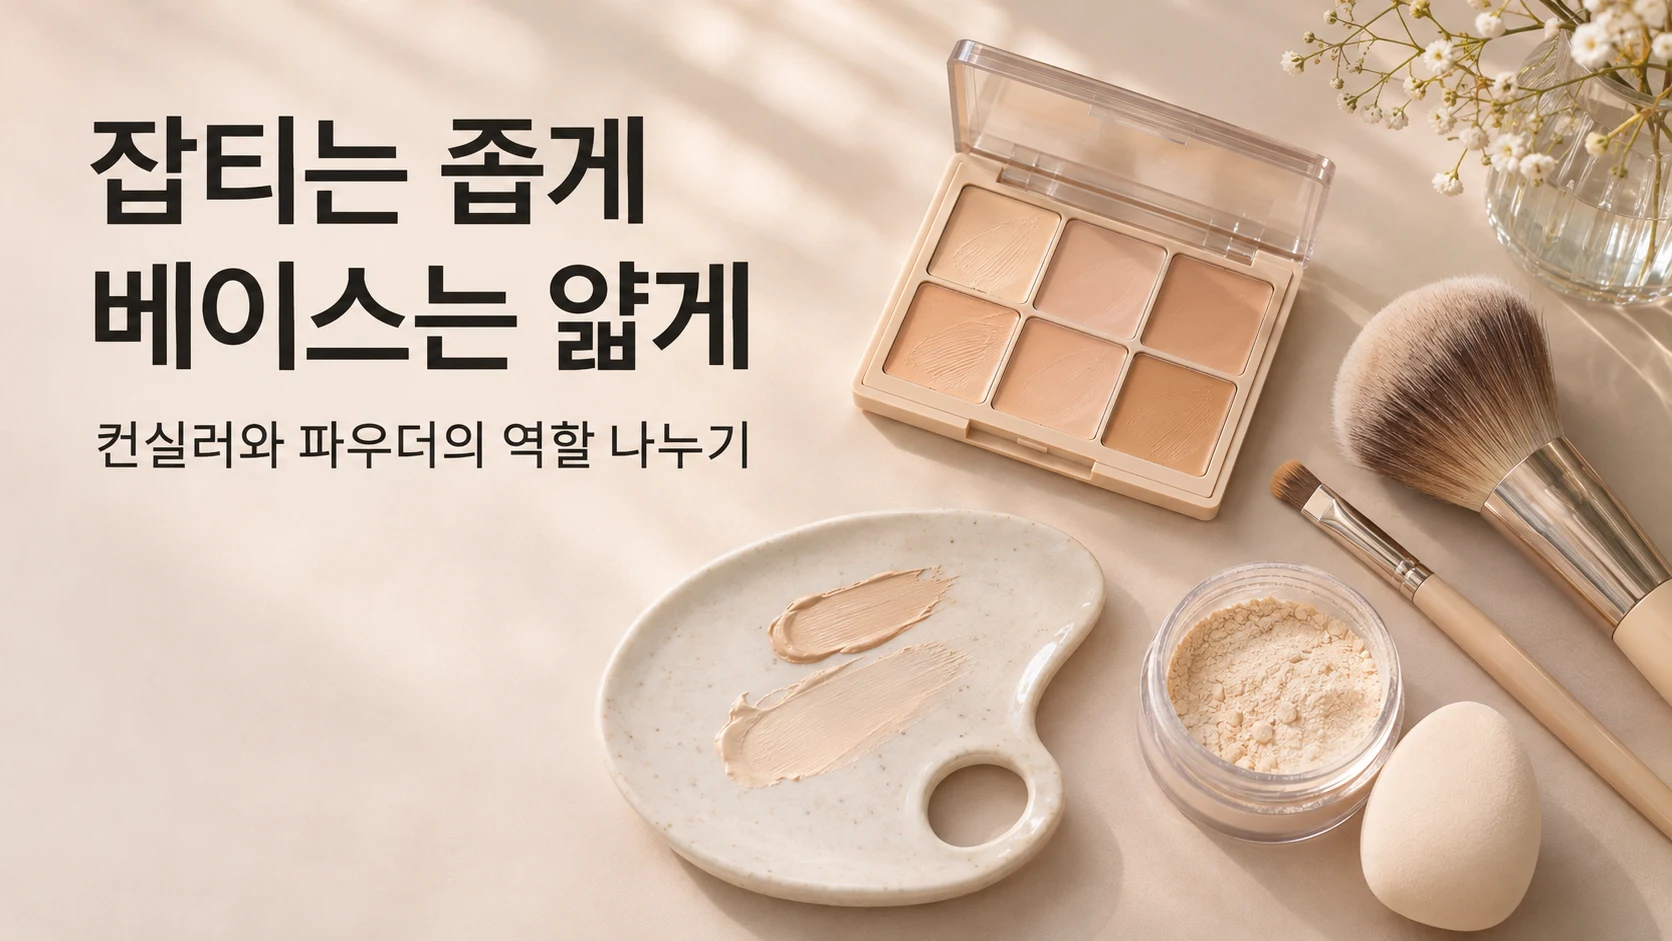
Giving foundation and concealer separate jobs makes your base simpler. Use a light layer of cushion foundation or another foundation to even out your complexion, then cover the remaining spots with a small brush. A few marks on one cheek do not require the same thick coverage across your forehead and chin.
Start with a concealer shade that blends naturally into the surrounding skin. A bright under-eye shade can look conspicuously pale over a dark spot, while automatically choosing something darker can leave a patch. The shade name matters less than whether a thin application blends with the foundation around it.
Decant a little onto a clean mixing palette, control the amount on your brush and place it over the centre of the spot. Soften the outer edge rather than repeatedly rubbing across the coverage itself. If you want more, let the first layer settle before adding a little to the same area. Formulas set at different speeds, so look for a surface that no longer shifts around rather than waiting a fixed number of minutes.
It is also fine to let some marks show through. You can use different standards on days when you want fuller coverage and days when you prefer a sheer finish. Trying to hide every last mark can make the skin that needs no extra coverage look heavy too.
Skipping powder completely—or applying it everywhere
Powder does not have to remove every trace of glow from your face. Think of it as a tool for managing shine and transfer where they actually bother you. Leave a soft sheen on the cheeks and use a little where oil makes brow products difficult to apply, or around the nose where your base tends to break down.
Tap off excess powder from your brush or puff before pressing it on lightly. Repeated layers in pursuit of an instantly matte finish can make dry texture more noticeable. Do not fill the under-eye area or smile lines with powder simply because there are creases there. If makeup has already collected, smooth it out first and add only a tiny amount of powder if setting is needed.
Powder is neither compulsory nor off-limits. You can skip it on dry cheeks where your foundation stays in place and use it selectively on oilier areas. Decide what you want it to do before deciding whether to use it.
Filling brows to the same intensity from front to tail
When sparse brows bother you, it is tempting to outline the shape and fill it in completely. If you want to preserve a natural hair-like effect, though, this can leave the inner brows looking like solid blocks. Brush the hairs into place with a spoolie first so you can see which areas are genuinely sparse and which simply have hairs lying flat.
Connect the gaps with short strokes, then use the colour remaining on the brush to soften the fronts. Give the tails enough definition to hold their shape, but diffuse strong outlines along the top and bottom. Instead of repeatedly drawing until both brows match like identical shapes, look for balanced height and intensity across your whole face.
An ash brown or a softer colour than your hair can be worth trying if you want less contrast. There is no universal rule that brows must be one or two shades lighter, however. Very pale brows can look disconnected from dark hair and eyes. If your current shade suits you, try reducing pressure and filling a smaller area before changing the colour.
Adding deep eyeshadow before addressing the eye area
Under-eye discolouration and shadows around the eyelids do not respond to coverage in the same way. A tiny amount of peach or salmon corrector can be an option for bluish or purple tones, but it will not erase every shadow caused by a hollow. More bright concealer spread over a larger area does not automatically create a cleaner finish.
First tidy the small areas that need colour correction, then start your eyeshadow with a base shade and a medium defining shade. Keep deeper colour to the areas you want to emphasise, such as the outer corner, so the intensity is easier to control. Check what is visible with your eyes open too. A shape that looks good with the eyes closed may appear much wider or narrower in your usual expression.
For eyeliner, begin with a fine line on the skin close to the lash line instead of making it thick from the start. Soften the edge of a slightly extended wing, or skip liner and tidy your lashes on days when smudging is a concern. Chunky shimmer and deep colours are not inherently wrong for your age. Adjust the particle size or placement if they emphasise texture or look more dramatic than you want.
Sweeping blush broadly across the same familiar area
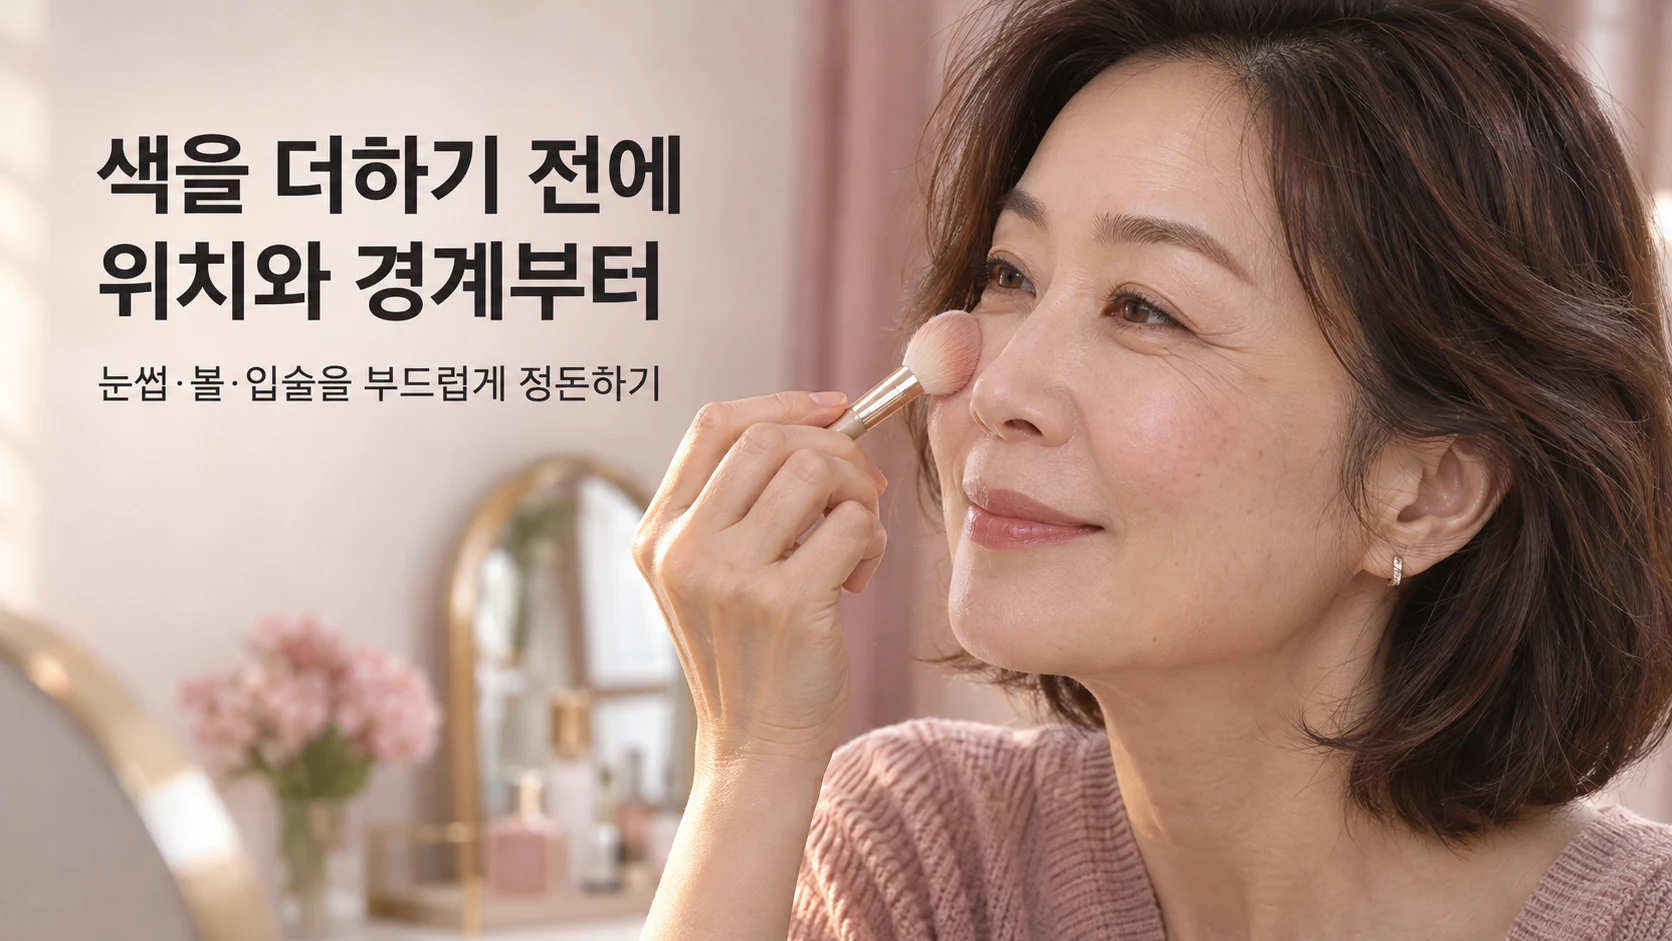
If blush seems to spread too far down your face, adjust where it starts and stops before changing the shade. One starting point is a small amount on the fuller part of the cheek, with the edges softened outward. You could try starting a little higher than usual, but it does not have to sit right beneath the eyes.
Look straight ahead with your face relaxed to see where the colour sits. Checking the placement after you stop smiling, as well as on the raised apples of the cheeks, makes it easier to judge. Face shape, cheek volume and texture around the eyes differ, so rules about placing blush above a particular point on the nose do not need to be treated as universal formulas.
Over an area you have concealed, use light tapping motions to blend the edges rather than buffing in large circles. With cream or liquid blush, start by controlling the amount on a brush or mixing palette instead of dotting a lot directly onto your skin. If powder blush is familiar and works well for you, keep using it. How the formula sits on your skin and how comfortably you apply it matter more than the texture category on the label.
Focusing on lip colour while overlooking edges and texture
If your lip colour seems disconnected from the rest of your face, you do not have to switch to nude. Try a thinner layer of your usual shade, or a slightly muted rose or coral close to your natural lip colour. If you want a vivid red to remain the focal point, you can reduce colour on the cheeks and eyes and let the lips lead the look.
If your lips feel rough, moisturise with balm, gently remove any excess sitting on the surface, then apply colour. Repeated layers of lipstick over lifted flakes can build up both pigment and texture. Matte formulas are not automatically a poor choice, but if tightness or cracking becomes more noticeable, a comfortable satin finish or soft sheen may be easier to work with.
Use lip liner when you want to tidy an indistinct outline. Choose a shade close to your lips or lipstick, connect the edge in short strokes and soften it slightly inward so the line does not stand out on its own. Filling small gaps is often an easier way to preserve a natural shape than enlarging the entire outline from the start. Liner cannot prevent all feathering, so control the amount of lip product applied over it too.
Adding one more layer to every area before you finish
As you finish, it is easy to feel something is missing and add more foundation, blush and lip colour in turn. First narrow it down to one specific thing you want to fix. A gap in one brow, shine around the nose and an uneven lip edge are different issues. They do not all need more colour.
Use the same approach when touching up away from home. Gently deal with excess oil or clumped makeup first, then add a small amount only where product has actually worn away. Covering your whole face again over makeup that is still there can take you further from the light finish you intended.
If you want a natural-looking result in your 40s and 50s, make the final question “Have I tidied the areas that need it?” rather than “Have I covered a little more?” You can conceal spots while leaving the surrounding skin light, and define brows and lips without overly sharp edges. Finding the amount that brings out what you like about your face also makes it easier to know when your makeup is finished.
Optional shopping picks for a lighter-looking finish
Affiliate disclosure: We may earn a commission from qualifying purchases through these OLIVE YOUNG Global links.
These are examples for targeted concealing, selective powdering, blush and lip colour. You do not need to replace your makeup because you are in your 40s or 50s. Consider only the step you actually want to change.
Targeted coverage — THE SAEM Cover Perfection Triple Pot Concealer
A three-shade pot concealer to consider for small areas of coverage or colour correction. Choose the shade combination for the area you want to address, then decant a little onto a clean palette and apply with a small brush.
View THE SAEM Cover Perfection Triple Pot Concealer at OLIVE YOUNG Global
Powder only where needed — innisfree No Sebum AC Powder 5g
A powder option for areas that get shiny, such as the forehead or sides of the nose. Tap off the excess first and leave dry cheeks alone if they do not need setting. This is the AC version listed by OLIVE YOUNG Global.
Controlled blush placement — rom&nd Better Than Cheek
An option if powder blush is already comfortable for you to use. Start with a small amount and soften the edges, using light taps over concealed spots instead of buffing the coverage away.
Lip colour with shine — rom&nd Glasting Melting Balm
An option when you want colour and a glossy finish in one lip product. Choose a shade you enjoy, apply a thin layer and check that excess product has not collected along the edges.
Choose concealer and colour shades for your own skin tone and preferred intensity. Check available shades, single items versus sets, prices and delivery to your country on the store page.